Built in Post Boxes Set up & Guide
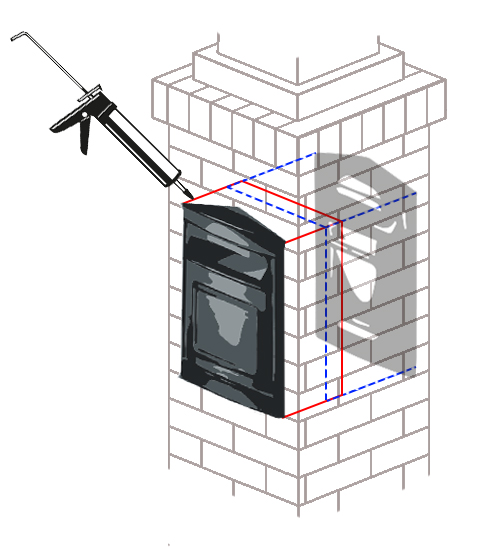 How to install a built in wall post box:
The post boxes within this section have been design to be implemented in to a wall or column. We have included some guidance as to the process but we do strongly recommend seeking the advice or assistance of a qualified builder.
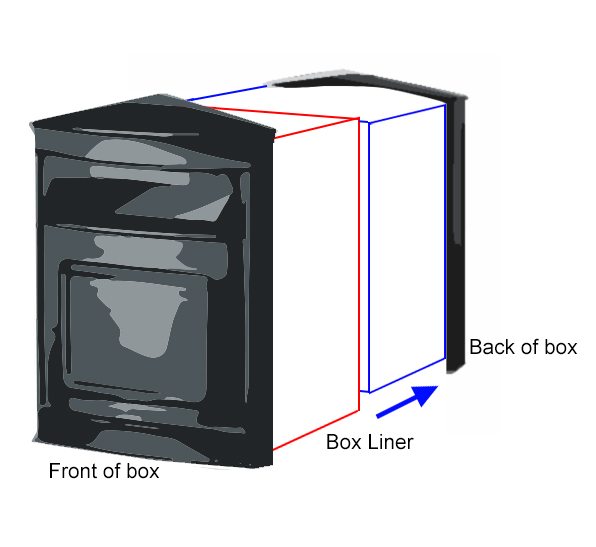
- To ensure your new post box is the perfect fit, make sure that the wall cavity is only marginally bigger than the post box front (and back box if the post box features this).
- Carefully apply a small amount of sealant glue around the part of the box that will be concealed within the wall. Some trades people may actually apply cement for additional security.
- Note: If you are installing a telescopic post box the two halves will need to be separated.
- Gently push the mail box into the brickwork cavity. Again, take care at this point to make sure both sides of the telescopic box meet and join.
- We also advise applying some sealant at the join between the boxes to help prevent moisture damaging the contents.
- With the post box now in position it can be secured using masonry screws and raw plugs, or potentially for heavier post boxes masonry rawl bolts.
- The final stage normally completed by a builder is to apply mortar around the edges of the post box, to ensure it appears to be a seamless part of the brick work. Please just ensure any additional mortar is removed from the post box front upon finishing.
View our full collection of built in post boxes here.
