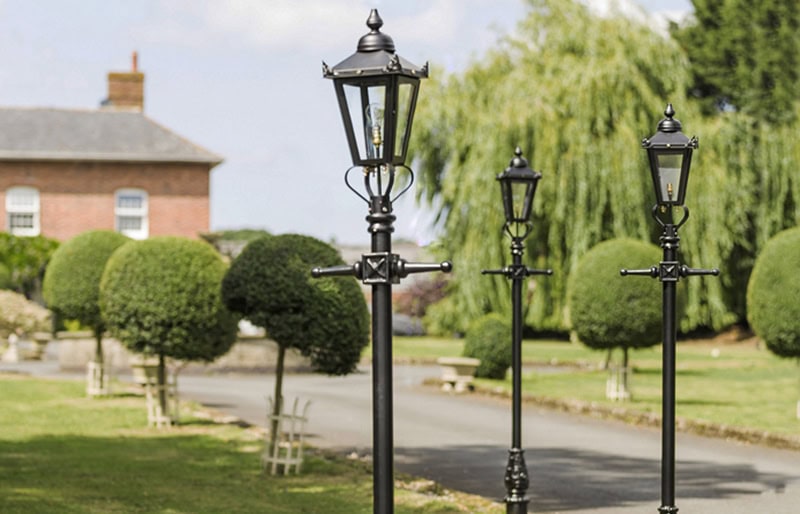
We have made putting together your new lamp post and lantern even easier with the following guide.
Please note we always recommend a qualified electrician is used for Lamp Post and Lantern installation. Recommendations are subject to modifications due to individual circumstances, such as ground type, exposure and environment etc. The viability of the lamp post or lantern location must be assessed by a qualified electrician ensuring it is suitable, making necessary modifications to the location or lamp post/lantern where required. All products are supplied unwired in easily assembled components unless specifically stated. The fully constructed item must have appropriate earth bonding and protection against overload. A qualified electrician should inspect and test equipment before final connection. A test certificate should be supplied by your electrician to prove that completed installations comply with current wiring regulations (i.e IEE Wiring Regulations - 18th Edition 2018).
The information provided is based on residential use and may vary in commercial applications. Products are not IP tested unless specifically stated.
Watch this video to get a step-by-step demonstration of an "All-Thread" fitting method.
With your lamp post you will have received a wooden template like the one pictured below. This will help position the fixing holes and space needed for the base at the installation site.
- Once you have determined and/or created a suitable base area for your lamp post, place the supplied wooden template at the location. Once happy with the position, mark out the proposed fixing holes.
- Ensure the concrete base has been fitted with a suitable means of threading your electrical cable, as shown below.
- Drill four fixing holes into the concrete, or installation site, ready to fix the lamp post base into position using the supplied masonry expanding rawl bolts. Your tradesperson may wish to use an alternative method such as the “all thread method” depending on ground type, see the installation video below for more information.
- With the base now in position you can fit the central pole and lantern.
- A qualified electrician can now complete the electrical installation and testing as above. An electrical installation certificate should be supplied.

Ensuring Stability & Further Maintenance of the Post
- Due to the use of stainless steel locking points, iron filings can be left behind once tightened. Because of this, we recommend that each locking point is coated over with a good quality metal paint such as Hammerite.
- Due to the rigours and handling of your lamp post during installation, we recommend that a paint coat is given within the first 3-9 months and then repeated as and when required.
- We recommend that pressure is not applied to the post by pulling, leaning or tying things to the post which may cause the central pole to apply additional pressure on the base fixings. Please also note that the ladder bars on all lamp posts are purely for decorative purposes and should not be used with an actual leaning ladder. Our lamp posts are not designed for leaning against, climbing or areas with high winds.
- We recommend the installation is professionally assessed to ensure it is safe and secure.
With all of our swan neck style lanterns, you will receive a roof mounted bulb holder meaning some extra installation methods are typically used during the wiring process. These are only examples and your installer may modify further as is seen fit. As shown in the images below, your electrician or tradesperson should secure the cable entry point with a locking nut, washer and grommet.
A small layer of silicon can also be applied to completely seal this cable entry point. As pictured, a matching black silicon is typically used for a more aesthetic finish. Silicon can also be added to the underside of the lantern lid where the bulb holder stem meets the lantern roof, as pictured below.

Now that you have successfully installed your lamp post and lantern, you'll want to start thinking about getting it up and running. But what bulb should you be using? This quick video guide perfectly details the kinds of bulbs that will be suitable for getting your new lamp post beautifully illuminated.

The following information is specific to our wall-mounted Victorian lanterns (product code: LF1070). If you are looking for installation advice for our other wall-mounted designs, please see individual product descriptions or contact our sales team for guidance.
Please note we always recommend a qualified electrician is used for Lamp Post and Lantern installation. Recommendations are subject to modifications due to individual circumstances, such as ground type, exposure and environment etc. The viability of the lamp post or lantern location must be assessed by a qualified electrician ensuring it is suitable, making necessary modifications to the location or lamp post/lantern where required. All products are supplied unwired in easily assembled components unless specifically stated. The fully constructed item must have appropriate earth bonding and protection against overload. A qualified electrician should inspect and test equipment before final connection. A test certificate should be supplied by your electrician to prove that completed installations comply with current wiring regulations (i.e IEE Wiring Regulations - 18th Edition 2018).
The information provided is based on residential use and may vary in commercial applications. Products are not IP tested unless specifically stated.

- There are two main types of fixings provided with these lanterns. One silver thread which is pre-fitted into the lid of the lantern before dispatch and four brass thumbscrews that attach the lid to the main body of the lantern.
- The silver thread is pre-fitted and should be used to attach the top of the lantern to the bracket itself.
- The brass thumbscrews are separated for transit and should be found within a clear plastic bag attached to the bubble wrap that the main section of the lantern is wrapped in.
- These lanterns are supplied with a complimentary bulb holder. This will be packaged separately from the lantern itself.
If you have any trouble locating the above fixings, please ensure that all packaging is checked thoroughly before contacting us. In exceptional cases, the fixings can sometimes be found within the lid of lantern, behind the white reflector plate.

